Capture Every Journey: Your Guide to Travel Photography Tips and Techniques

Imagine standing on an unfamiliar shore, camera in hand, ready to capture the moment. That’s the magic of travel photography—it helps you hold onto memories from distant horizons.
Every image tells a story of the places you’ve explored and the adventures you’ve had.
In this guide, you’re going to learn practical tips that make your travel photos shine. Whether you’re chasing the sunrise in the mountains or exploring bustling city streets, these techniques will turn your snapshots into cherished memories.
Wondering how to make your travel photos stand out? You’ll find simple, effective ways to enhance your images and share your experiences, no matter your skill level.
So grab your camera, get set for creativity, and let’s dive into the world of travel photography together!
Essential Travel Photography Tips
Capturing beautiful moments while you travel can seem challenging, but a few key techniques can elevate your photography game.
Whether you’re a beginner or someone who’s taken a fair number of pictures, these tips will help you frame stunning photos and tell the story of your journey.
Let’s look at some essential strategies to make your travel photography shine.
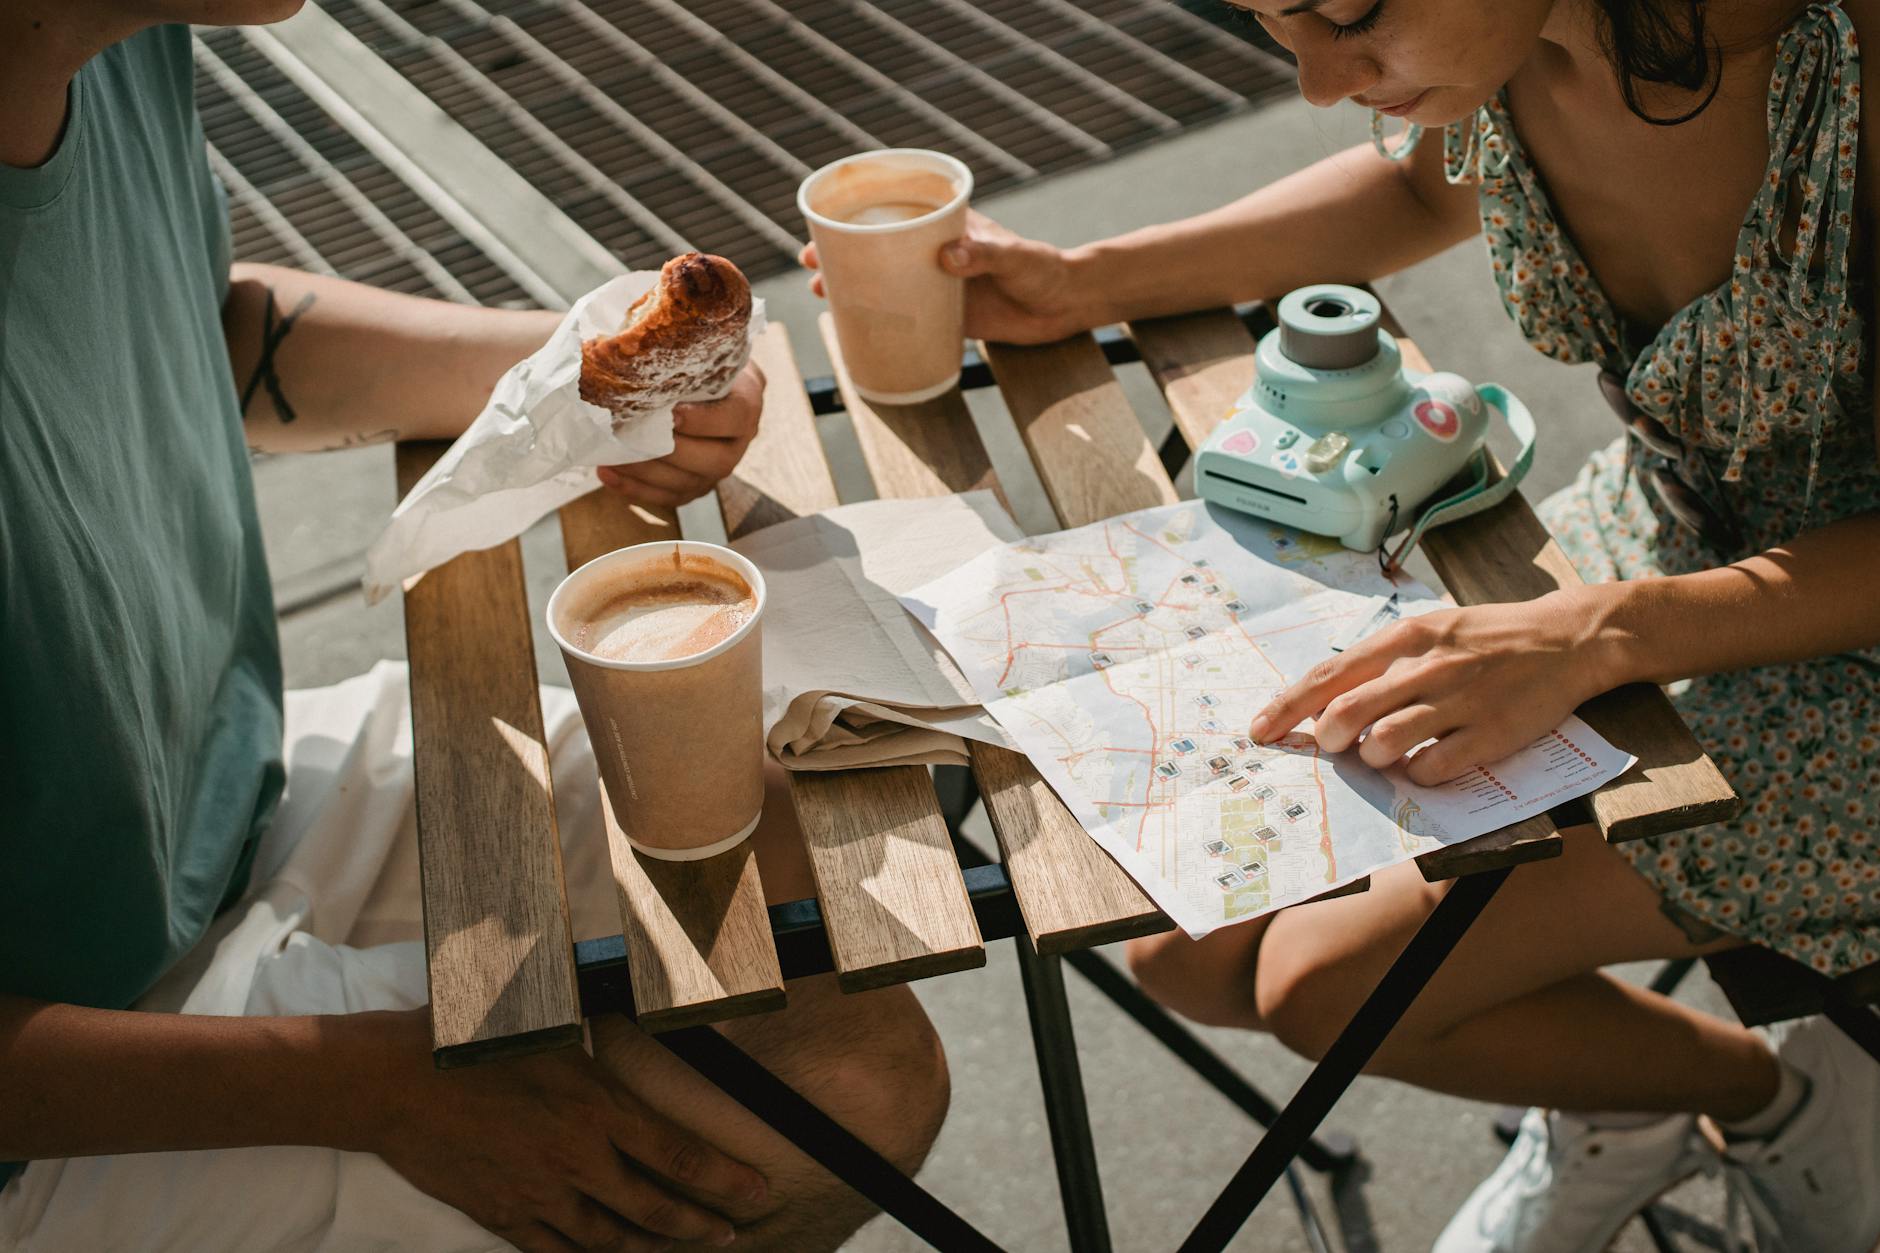
Research Your Destination: Understand the culture and environment to find great photo spots.
Before you pack your camera, do a bit of research. Knowing the best places to shoot during your travels can make a world of difference.
Look up popular sites to photograph and explore local spots that may not be on every tourist’s list. This way, you not only capture iconic landmarks but also get intimate shots of everyday life.
Understanding the local culture—like festivals or styles of dress—can also give you unique opportunities to take memorable photos, all while respecting the area you’re visiting. Discovering hidden gems can lead to some truly special shots!
Golden Hour Photography: importance of shooting during the golden hour for better lighting.
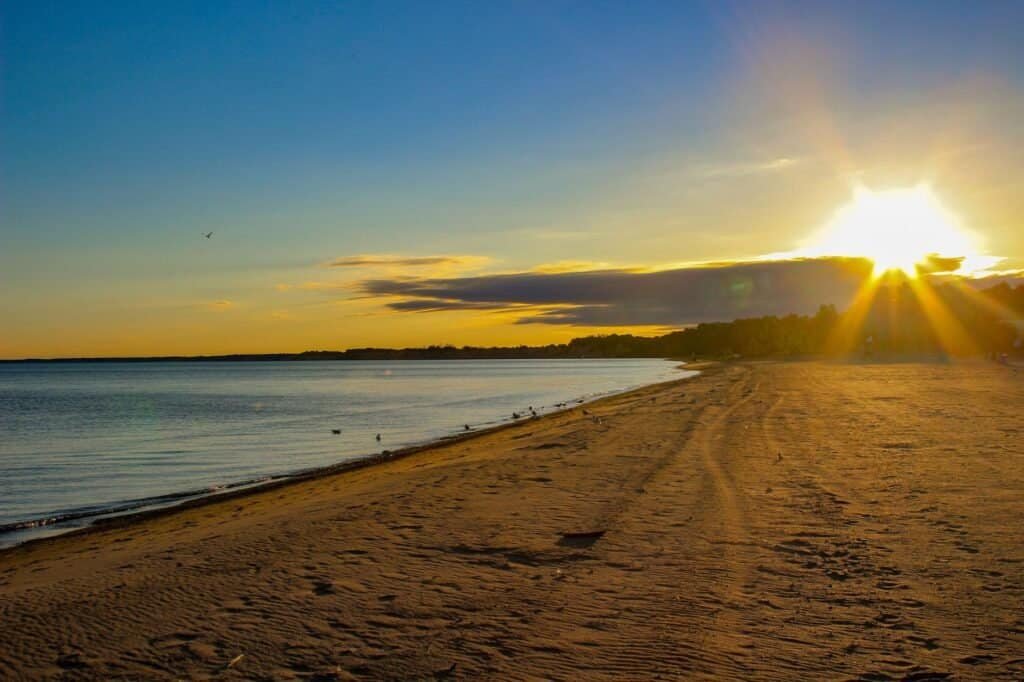
Have you ever noticed how everything looks better just after sunrise or before sunset? That’s the golden hour—a magical time when the sunlight is soft and warm.
During this time, the shadows are less harsh and colors pop. Make it a point to schedule your photo sessions around these hours. It requires a bit of effort to wake up early or stay out late, but the results will be worth it.
Your pictures will emanate warmth and beauty, creating a dreamy atmosphere that draws viewers in.
Composition Techniques: rule of thirds, leading lines, and framing.
Good photos don’t just happen; they’re planned! Using composition techniques can help your images stand out.
The Rule of Thirds involves imagining your image is divided into nine equal segments, then placing important elements along these lines or their intersections. It brings balance to your photos.
Leading lines, such as roads or rivers, draw the viewer’s eye toward the subject. You may also frame your subject within your photo using natural elements like doorways or trees.
These techniques help make your images visually appealing and guide the viewer’s gaze where you want it to go.
Experiment with Angles: trying different perspectives for unique shots.
Think about your shot like a story. Sometimes, you need to show it from different perspectives to get the full picture. Don’t be afraid to move around.
Climb up high or kneel down low; your angle can dramatically change your composition. Shoot from the side, or find an interesting foreground to add depth to your image.
The more angles you try, the more likely you’ll capture something unique that tells a compelling story about your travels.
Practice Patience: the need to wait for the right moment.
Remember, great photography often requires patience. Sometimes, the best shot doesn’t come instantly. It might take a while for the perfect light, person, or animal to cross your frame.
Instead of rushing, find a spot, set up your camera, and take a deep breath. Enjoy the scenery around you and wait for magic to happen. As they say, good things come to those who wait.
To dig deeper into the world of travel photography, check out more tips at National Geographic’s travel photography tips.
When you combine your love for traveling with thoughtful photo-taking strategies, you’ll create images people will want to explore time and again.
Best Cameras for Travel
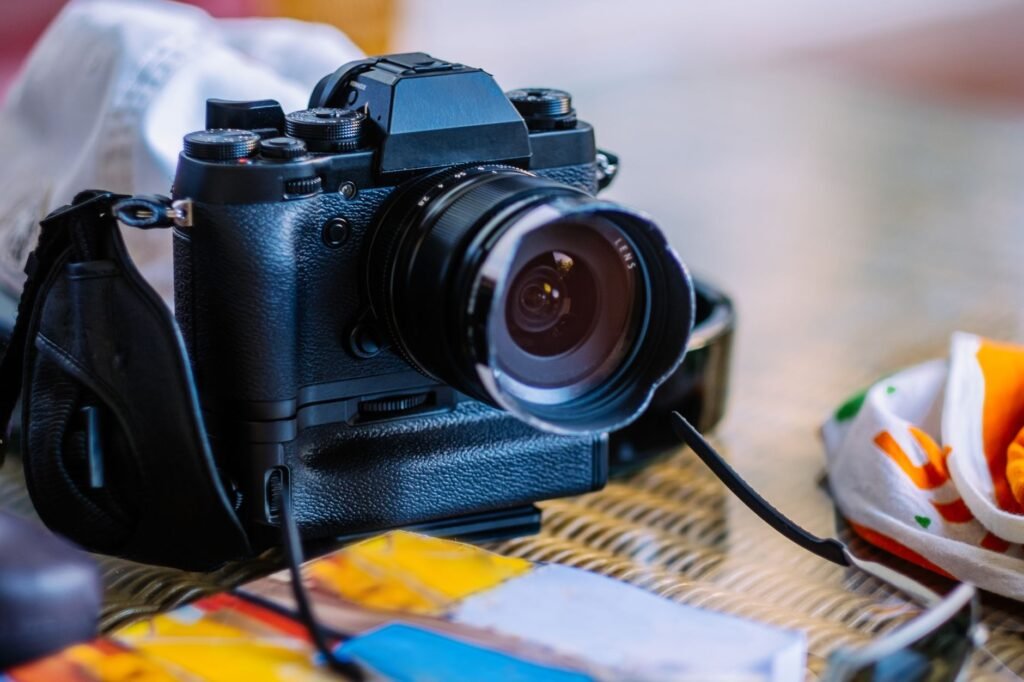
Choosing the right camera can transform your travel photography experience. With so many options available, each type serves different needs and preferences.
Here’s a closer look at the best cameras for travel, so you can find one that suits your adventurous spirit.
DSLR Cameras
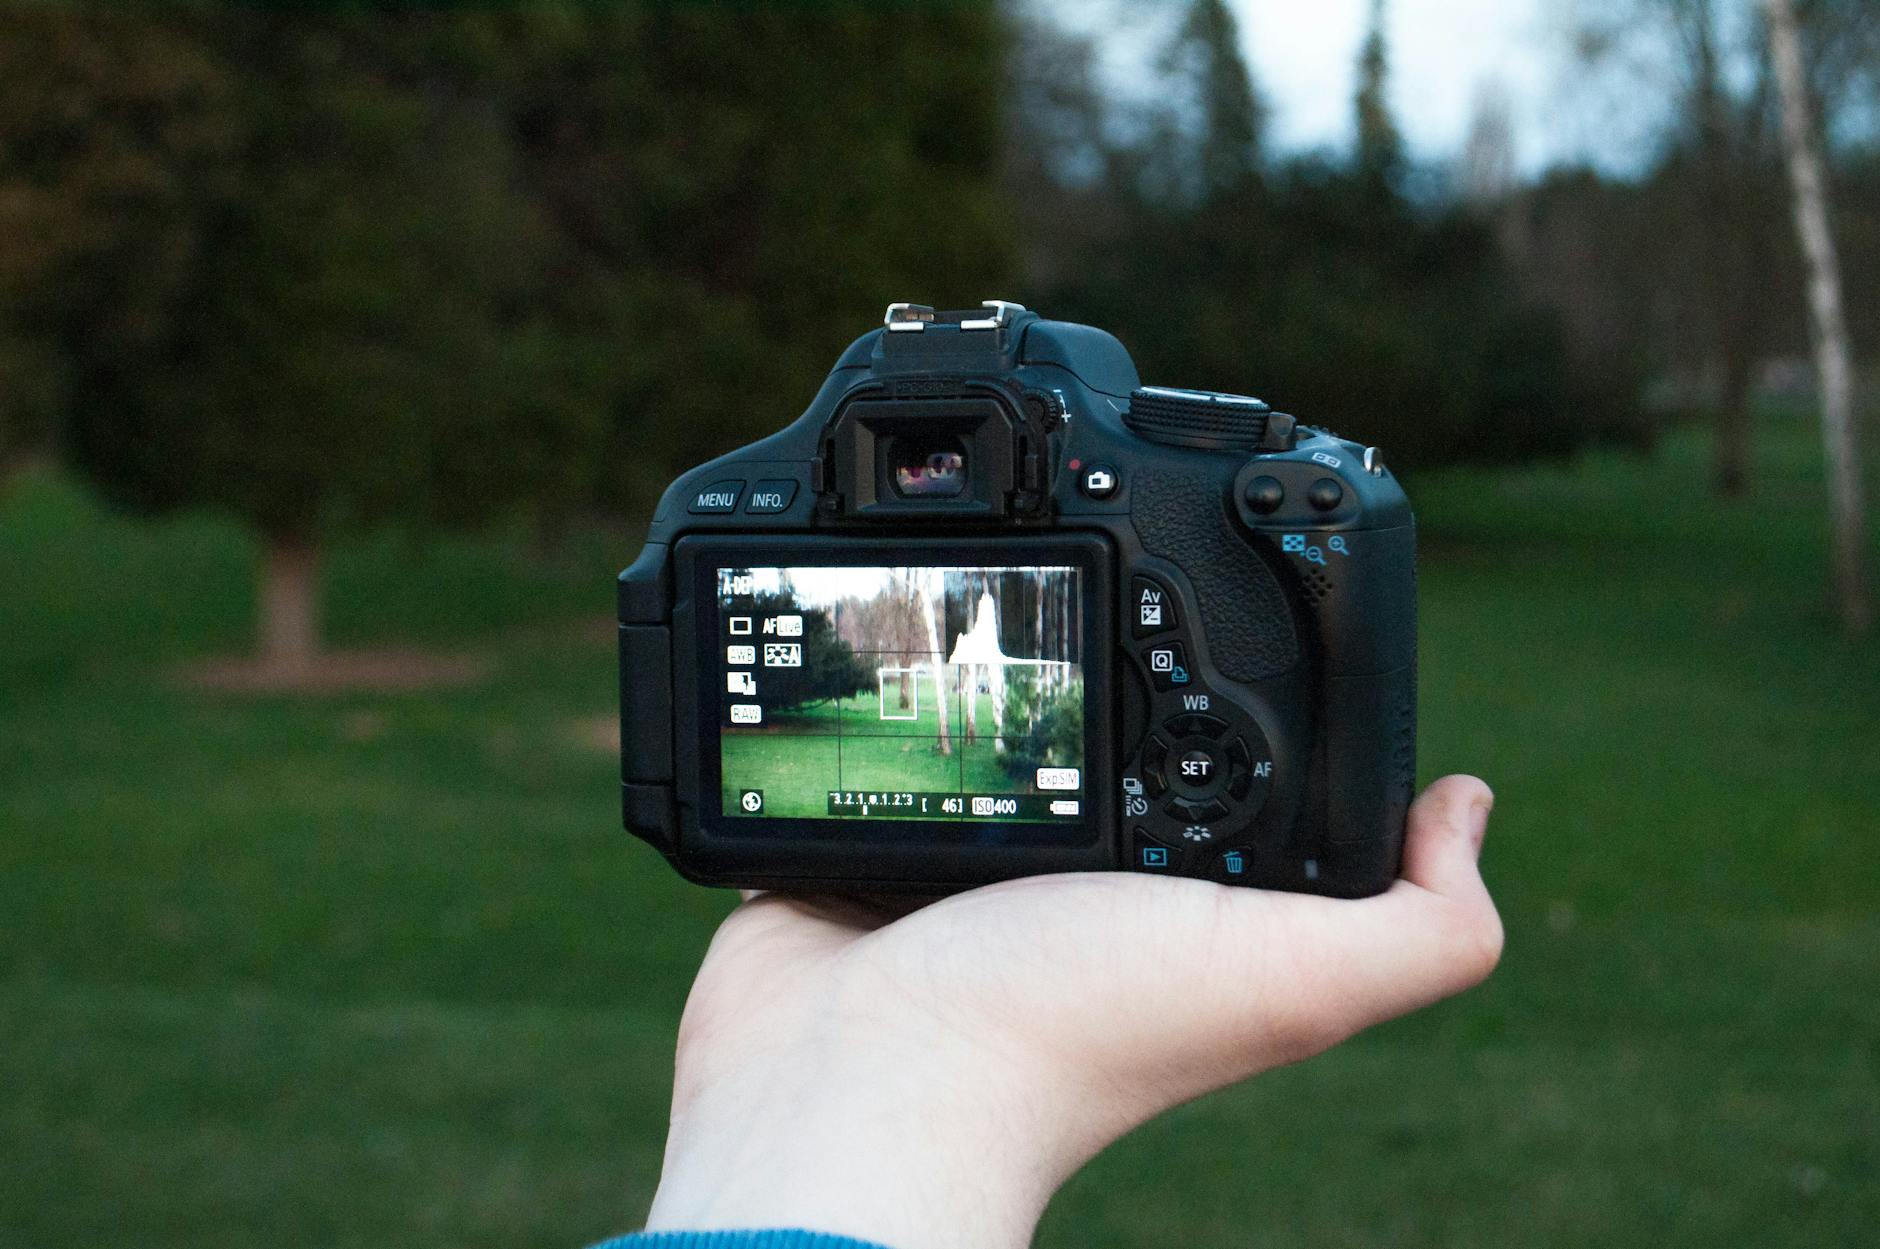
DSLR cameras are popular but have pros and cons to consider before packing them for your trip.
Pros:
- Image Quality: DSLRs typically offer high-quality images thanks to larger sensors.
- Control: They provide manual settings that let you adjust exposure, ISO, and focus, giving you a professional edge.
- Lens Variety: You can swap out lenses for different types of shots, from wide landscapes to detailed close-ups.
Cons:
- Bulkiness: They can be heavy and take up a lot of space, which might be uncomfortable to carry around.
- Learning Curve: If you’re new to photography, the complexity might feel overwhelming at first.
If you want to explore more about DSLR options, check out this detailed guide on Best travel camera for 2024.
Mirrorless Cameras
Mirrorless cameras are gaining popularity among travelers for several compelling reasons.
- Lightweight and Compact: They are generally smaller than DSLRs, making them perfect for travel when space and weight matter.
- Quick Focus: Many mirrorless models have rapid autofocus features that make capturing those fleeting moments easier.
- Interchangeable Lenses: Similar to DSLRs, you can often change lenses, giving you flexibility in your photography.
These benefits make them a great choice if you want quality without the bulk. Explore the 7 Best cameras for travel to find out more.
Point-and-Shoot Cameras
Point-and-shoot cameras are fantastic for their ease of use and portability.
- Simple Operation: They are very user-friendly, making them perfect for those just starting or who prefer not to fuss with settings.
- Compact Size: These cameras fit easily into pockets or small bags, so they won’t weigh you down on your adventures.
If you’re seeking something quick and convenient, point-and-shoots bring the fun of capturing moments without complicated settings.
Smartphone Photography
Never underestimate the power of a smartphone! Modern smartphones have impressive cameras packed with technology.
- Amazing Quality: Many smartphones have high-resolution cameras and advanced features like image stabilization and portrait modes.
- Always Accessible: You always have your phone with you, making it easy to snap a photo at any moment without carrying extra gear.
- Editing and Sharing: It’s simple to edit and share your photos on social media right from your device.
Many professional photographers use their phones as backup cameras due to their excellent functionality. With a good smartphone, you can achieve stunning results!
Accessories for Travel Photography
Great photography doesn’t just rely on a camera. Here are some accessories that can enhance your travel shots:
- Tripod: A lightweight tripod is essential for stable shots, especially in low light or scenic settings.
- Lens Filters: Filters can improve color saturation and reduce glare while capturing landscapes.
- Extra Batteries and Memory Cards: Always bring spares! You don’t want to miss out on precious moments because your battery died or your card is full.
Including these accessories can elevate your photography experience to new heights, ensuring that you don’t miss those magical moments.
Considering various types of cameras and useful accessories can help you get better prepared for your travel photography adventures.
Each type has its unique benefits, so pick what feels right for you, and don’t forget to enjoy capturing your experiences!
Techniques for Capturing Stunning Landscapes
When it comes to landscape photography, a combination of techniques can help you capture breathtaking images. These simple yet effective methods enhance the beauty of the natural world around you and invite viewers into your adventures.
Let’s look at a few key techniques that can elevate your photography efforts.
Using Filters
Filters can be magical little tools in photography. For landscapes, two types are particularly useful: polarizing filters and neutral density (ND) filters.
- Polarizing Filters: Picture walking near a lake. Polarizing filters cut through glare, making the water look glistening and clearer. They also enhance the colors of the sky and foliage, making your images richer and more vibrant.
- ND Filters: When you want to take a long exposure photo of a waterfall, ND filters come into play. They reduce the amount of light hitting the camera sensor, allowing you to use slower shutter speeds. This results in stunning blurred effects of flowing water, giving your pictures an ethereal quality.
Filters can add depth and clarity to your photos, making them pop!
Finding the Right Foreground
One common mistake is to focus solely on the background when shooting landscapes. Adding something interesting in the foreground makes your photos more dynamic and layered.
Why does it matter? Picture this: you’re at a beautiful mountain range, but if the foreground is just empty grass, your image might feel flat. Instead, include some wildflowers, a rock formation, or even a path leading into the scene.
These elements guide the viewer’s gaze and create a sense of depth in your photo. This technique can turn a regular landscape into an extraordinary work of art.
Emphasizing Scale
Have you ever found yourself captivated by photos that include tiny people in vast landscapes? That’s because including scale makes a significant impact. When you add people or objects, it shows just how big the mountains, sunsets, or oceans are.
Consider standing in front of an impressive cliff. If you simply shot the cliff alone, it might look just like a wall. By having a friend nearby, it provides context, showcasing the real grandeur of the scene.
It’s not just about what you see but how big or small it feels in that moment.
Telling a Story
Your photos can create a narrative about the places you visit. Think about what story you want to convey through your landscapes. Is it a tranquil sunrise over a quiet lake? Or maybe it’s a chaotic storm brewing over a mountain range.
To tell your story, consider what elements you want to include. Look for patterns, colors, or contrasts that add meaning to your image.
Talk to the scenery—what draws you in? Ask yourself what feeling you want to capture. This approach allows your audience to step into the journey alongside you.
Post-Processing Tips
A little editing can go a long way in landscape photography. Here are some essential tips to enhance your images in post-processing:
- Adjust Brightness and Contrast: Brighten up your images while balancing shadow and highlight levels. This can make colors pop.
- Play with Saturation: Be careful—it’s easy to overdo this. Enhancing colors slightly can give your image the vibrancy it needs without looking unnatural.
- Crop for Composition: Take a moment to assess your photo. Sometimes a slight crop can strengthen your composition and remove distractions.
- Sharpening: Use sharpening sparingly to enhance details without creating noise. This helps in bringing focus to specific elements of your image.
- Less is More: The goal is elegance. Avoid overwhelming your images with too many filters or heavy edits. Soft and subtle touches often yield the best results.
Taking the time to perfect your shots through editing can make them stand out!
Photo by Jan Dubanek
Including these techniques in your photography can open up a lot of stunning landscape images. Experiment often, trust your instincts, and above all, enjoy the process of capturing the beauty around you!
Explore more detailed resources on how to improve your landscape photography at the Photography Academy.
Travel Photo Editing
Editing your travel photos can greatly enhance their beauty and make them truly memorable. Whether you’re just starting or you’re an experienced photographer, mastering travel photo editing can bring out the magic in your shots.
Here are key points to consider when editing your travel photos.
Choosing Editing Software
Finding the right editing software is essential. There are many options, whether you’re a beginner or a pro. For beginners, programs like Photoscape and Canva offer user-friendly interfaces for simple edits.
As you grow, you might lean towards advanced tools like Adobe Lightroom or Photoshop. These give you more control over adjustments and can help create stunning final results.
If you constantly edit on the go, consider mobile applications like Snapseed and VSCO. With intuitive features and easy Instagram sharing, they make it simple to showcase your travels as you go.
Explore more editing apps for your travel photos on 5 Best Camera Apps for Travel Photos.
Basic Editing Techniques
When editing, focus on these essential techniques:
- Cropping: This is one of the simplest yet impactful tools you can use. Trim unwanted parts from your photo to improve composition.
- Color Correction: Correcting color can make your image come alive. Use levels and sliders to adjust the colors, ensuring they reflect what you saw during your travels.
- Exposure Adjustments: Sometimes images can appear too dark or too bright. Adjusting exposure helps balance light and shadow for a clearer photo.
Mastering these basics will explode new life into your images, turning them from good to great.
Presets and Filters
Using presets and filters can save time and give your photos a consistent look. Presets are like shortcuts for editing—applying one can add a creative vibe instantly.
Filters can tweak brightness, contrast, and shadows with just a click. Many editing software, like Lightroom, allows you to create your custom presets based on your aesthetic style.
Remember, while presets are helpful, moderation is key. You want your photos to look polished but still natural.
Creating a Consistent Style
Developing a personal editing style is essential for creating a cohesive portfolio. What mood do you want your photos to convey?
Maybe it’s warm tones to depict sunsets or vibrant colors for city shots. Stick to a few adjusting techniques and presets to give your images a signature look.
Ask yourself: what story do you want your photos to tell? Once you figure that out, consistency will follow naturally, making your work recognizable and unified.
Avoid Over-Editing
Remember, the goal is to enhance—not to overshadow the reality of your experiences. Over-edited photos can feel fake and lose their charm.
Be cautious with filters and adjustments. Strong color saturation or excessive sharpening can detract from the original beauty and intricacies.
Instead, aim for subtle edits that enhance without overwhelming. Keep your audience feeling connected to the real moments through your photos, not just the visual effects.
Photo by Adreyat Hasan
Editing photos properly can help narrate your travel story effectively. Bringing together careful editing techniques, consistency, and authenticity allows your images to capture memories beautifully.
Sharing Travel Photos Online
Sharing your travel photos online is not that you are showing off beautiful places; it’s about storytelling and connecting with others.
With the right strategies, you can effectively share your captures and memories with the world, whether on social media, a blog, or a personal website. Here are some essential tips to get you started.
Social Media Strategies
Social media is a fantastic platform for sharing your adventure photos. Here are a few tips for different platforms:
- Instagram: Use visually stunning images to grab attention. Post your best shots, and don’t forget to share stories of your journey to bring your followers along!
- Facebook: Create an album that tells a narrative of your trip. Add descriptions to your photos so friends can comment and engage. Bonus? You can share posts at the end for family and friends who want to catch up.
- Pinterest: This platform is perfect for curating themed boards from your travels. Share stunning images that inspire wanderlust; people often refer back to these for their future trips.
Each platform has its quirks and best practices, so customize your approach!
Building an Online Portfolio
Having a personal website or blog helps showcase your work like the gallery of an artist. It creates a space where your photos can shine—like a travel diary in pictures. By maintaining an online portfolio, you can:
- Display Your Style: Curate a collection that represents your best work and unique perspective on the world.
- Enhance Discoverability: Potential travelers or companies may come across your work, and that’s a great way to open networking opportunities.
- Control Your Narrative: Define exactly what you want viewers to know about your adventures and experiences.
Platforms like WordPress or Wix can help you get started easily, allowing you to showcase your images professionally while sharing stories behind each shot.
Engaging with Your Audience
Connecting with followers helps build a community around your travels. Encourage interactions by:
- Replying to Comments: Always take the time to respond to those who take interest in your work. It makes them feel appreciated!
- Asking Questions: Try asking for tips or recommendations. It opens a dialogue and shows that you value their input.
- Collaborating with Fellow Photographers: Consider guest posts or shared projects. It can bring fresh perspectives and new audiences.
Building this rapport not only enhances your online presence but can also lead to meaningful friendships along your journey.
Using Hashtags Effectively
Hashtags aren’t just trendy; they’re powerful tools for reaching a larger audience. Here’s how to use them wisely:
- Be Specific: Instead of general hashtags like #travel, consider ones like #TravelPhotographyLovers. This helps connect you with interested users rather than general travelers.
- Mix Popular and Niche Hashtags: Using a mix allows you to reach broad audiences while getting noticed within specific communities.
- Limit Quantity: Aim for around 10-15 hashtags that are relevant. Too many can appear spammy and lessen engagement.
Experiment with different hashtags and observe what resonates with your followers!
Joining Photography Communities
Online photography communities are fantastic for feedback and making connections. Here are some options to explore:
- Reddit: There are various travel and photography subreddits where you can share your work and learn from others.
- Facebook Groups: Many dedicated groups focus on travel photography. Engage with like-minded people and share your experiences.
- Forums: Platforms like Rick Steves’ Travel Forum provide support and tips relevant to travel and photography.
Engaging in these communities can help you grow as a photographer and traveler while offering inspiration from others’ travels.
Photo by Samson Katt
Implementing these strategies will help you effectively share your travel photos online and connect with others who share your passion for exploring the world!
Wrapping Up – Travel Photography Tips
Travel photography is about more than just taking pictures; it’s about capturing moments and sharing your adventures. You now have tips to research your destination, use the best lighting, master composition, and add special techniques.
As you begin your photography journey, remember that practice makes perfect. Don’t be afraid to try out different angles or patiently wait for the right moment.
Start experimenting today, and watch how your skills evolve. The world is full of stories just waiting for you to tell them through your lens!
Ready for more tips? Subscribe to Tripping Eagle for exciting travel content and inspiration.

